pi-defender
Defense-in-depth protection for Pi coding agent. Blocks dangerous commands and protects sensitive files — rename of pi-damage-control.
Package details
Install pi-defender from npm and Pi will load the resources declared by the package manifest.
$ pi install npm:pi-defender- Package
pi-defender- Version
1.9.3- Published
- Sep 7, 2026
- Downloads
- 238/mo · 64/wk
- Author
- serhioromano
- License
- MIT
- Types
- extension
- Size
- 1.7 MB
- Dependencies
- 1 dependency · 1 peer
Pi manifest JSON
{
  "extensions": [
    "./src/index.ts"
  ],
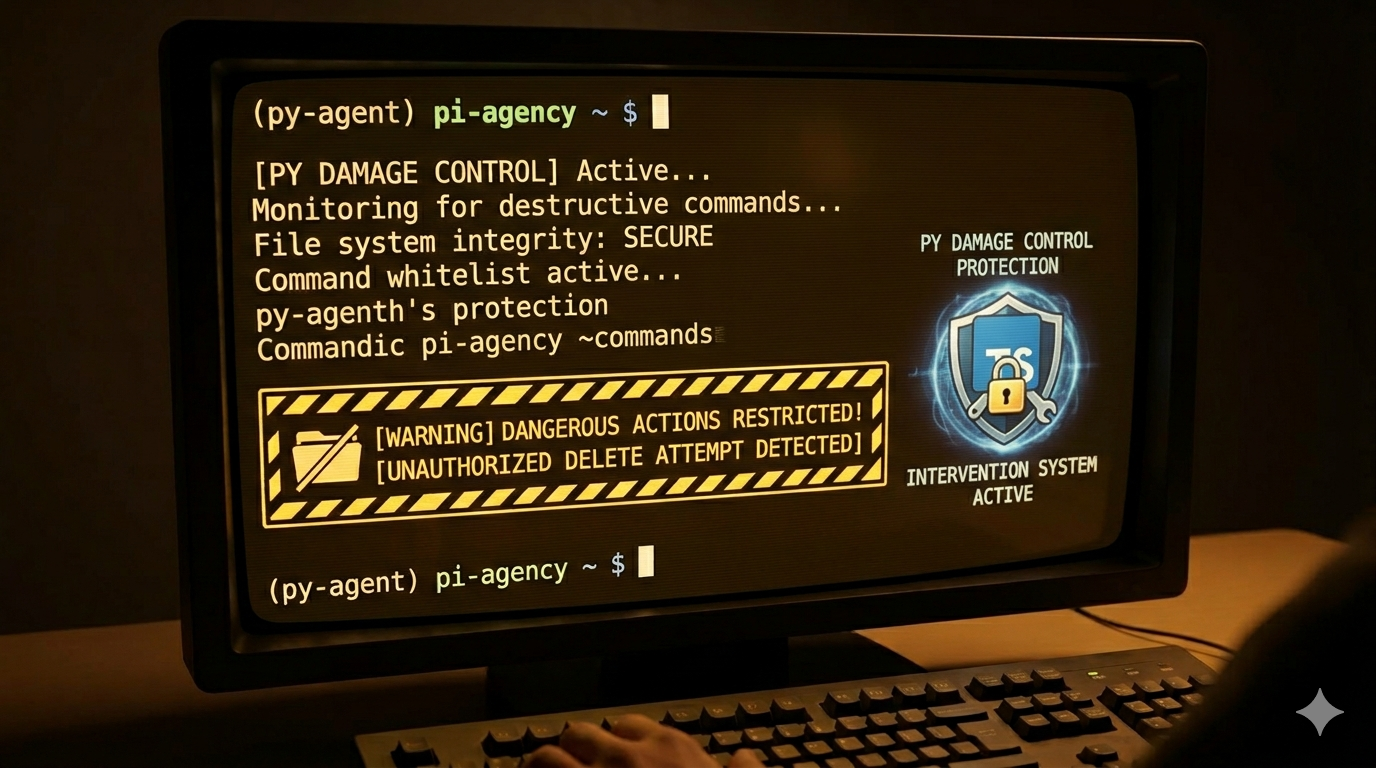
  "image": "https://raw.githubusercontent.com/Serhioromano/pi-defender/refs/heads/master/images/pi-defender.png"
}
Security note
Pi packages can execute code and influence agent behavior. Review the source before installing third-party packages.
README
Pi Defender 🛡️
[!WARNING] This extension is provided "as is", without warranty of any kind. The author assumes no liability for damages or data loss resulting from its use. Always maintain up-to-date backups.
Defense-in-depth protection for Pi — intercepts dangerous bash commands and file operations before they execute. Ported from claude-code-damage-control.
Install
pi install npm:pi-defender
The next time you start Pi agent, a protection-level selector appears — choose your mode for the session:
- 🔒 Strict Mode (default) — every bash command requires approval
- 🛡️ Patterns only — only dangerous commands trigger prompts
- ⚪ Disable Defender — no protection for this session
⚙️ Default Mode (skip the session-start selector)
From the selector: The session-start selector includes 💾 Save choice for this project and 🌐 Save choice forever (global) options. Navigate to your preferred mode, then down to a save option to persist it — no manual YAML editing required.
From the command line: Use /defender:default-mode (no args) to open the same interactive protection-level selector from session startup, or pass a mode directly:
/defender:default-mode               # opens the selector (🔒/🛡️/⚪ + save options)
/defender:default-mode strict        # 🔒 Strict ON (global)
/defender:default-mode patterns      # 🛡️ Patterns only (global)
/defender:default-mode off           # ⚪ Disable defender (global)
/defender:default-mode interactive   # reset — show selector again
/defender:default-mode strict --local # project-local (.pi/defender.yaml)
In YAML config: Add defaultMode to any defender.yaml or patterns.yaml to skip the interactive selector on session start and go directly to your preferred mode:
defaultMode: strict    # 🔒 Strict Mode ON (default behavior)
defaultMode: patterns   # 🛡️ Patterns only
defaultMode: off        # ⚪ Disable Defender
defaultMode: interactive # show the selector (same as omitting the key)
Place it in .pi/defender.yaml (project-local, persistent) or ~/.pi/defender.yaml (global). When set to anything other than interactive, the session-start selector is skipped entirely and a config table notification is shown instead.
Features
🛡️ Three layers of protection:
| Layer | What it does |
|---|---|
| Pattern blocking | Dangerous commands (rm -rf, sudo, curl | bash, DROP TABLE, dd if=, chmod 777, git push --force) are intercepted with an ⚠️ Allow / ❌ Deny selector |
| Path protection | Sensitive paths are guarded at 3 levels: zeroAccess (no read/write/delete — secrets, keys), readOnly (write/edit blocked — system files), noDelete (delete blocked — project docs) |
| Strict Mode 🔒 | Every bash command requires explicit approval via arrow-key selector. Whitelist trusted commands to auto-approve them across sessions |
TUI selector with keyboard shortcuts — press 1-N to instantly choose: Approve, Deny, Whitelist, Approve All, or Abort.
Chained commands — cmd1 && cmd2 || cmd3 are split and each sub-command approved individually. Deny/Abort on any sub-command blocks the entire chain.
Abort protection — selecting ❌ Abort calls ctx.abort() to cancel the agent's turn and locks all future bash + file writes until you run /defender:strict off.
Commands
| Command | Description |
|---|---|
/defender:status |
Show stats, strict mode state, and config table |
/defender:reload |
Reload YAML config after editing |
/defender:patterns |
Initialize .pi/patterns.yaml with bundled defaults |
/defender:strict [on|off] |
Toggle strict mode (ON by default) |
/defender:globalize-whitelist |
Copy unique local whitelist patterns to ~/.pi/defender.yaml |
/defender:report-issue <desc> |
AI-enhanced bug/feature report → GitHub issue |
/defender:default-mode |
Set/reset default mode. No args = opens selector. With args: strict/patterns/off/interactive (+ --local) |
Configuration
Pi Defender merges rules from up to 4 YAML files:
| File | Overwritten on update? | Purpose |
|---|---|---|
.pi/patterns.yaml |
✅ Yes | Bundled security rules (local installs only) |
~/.pi/patterns.yaml |
✅ Yes | Bundled security rules (global) |
.pi/defender.yaml |
❌ Never | Your custom patterns + whitelist |
~/.pi/defender.yaml |
❌ Never | Your custom patterns + whitelist (global) |
All 4 are merged — no file overrides another. On session start, a config table shows what each file contributed.
Prompt timeout (pattern-blocked + strict mode)
Both pattern-blocked prompts and strict mode prompts auto-dismiss after a configurable duration:
# In .pi/defender.yaml or ~/.pi/defender.yaml:
promptTimeout: 30    # seconds before auto-dismiss (default: 120)
autoApprove: true    # auto-approve on timeout (default: false = auto-deny)
autoApprove only applies to non-whitelisted bash commands in strict mode — not to patternBlockedPrompt patterns. Pattern-blocked prompts always auto-deny on timeout regardless of autoApprove. Timeout never aborts the session; only explicit user selection of "Deny & Abort" does.
Auto-reject patterns (skip prompt entirely)
All bundled patterns ship with autoReject: true. The promptTimeout config (default: 120) controls whether a countdown prompt appears or the command is blocked immediately:
autoReject |
promptTimeout |
Prompt | Options | Timeout action |
|---|---|---|---|---|
true |
> 0 | Full prompt + countdown | Allow anyway / Deny & Abort | Auto-deny (no abort) |
true |
0 / not set | None (notification only) | N/A | Immediate deny |
false |
> 0 | Full prompt + countdown | Allow anyway / Deny & Abort | Auto-deny (no abort) |
false |
0 / not set | Full prompt (wait forever) | Allow anyway / Deny & Abort | N/A |
Override per-pattern in defender.yaml:
bashToolPatterns:
  - pattern: '\bgit\s+push\s+.*--force'
    autoReject: false   # show prompt and wait forever for this pattern
    reason: git push --force
Adding patterns
Your custom rules go in .pi/defender.yaml (never overwritten on updates):
# Block a custom command
bashToolPatterns:
  - pattern: '\bdangerous-tool\b'
    reason: Internal tool — never run via agent

# Add paths to protect
zeroAccessPaths:
  - .env.production
  - *.pem

# Trusted commands (skip strict mode prompts)
strictModeWhiteList:
  - ^npm\s+test\b
  - ^npm\s+run\sbuild\b
  - ^git\s+status\b
Whitelist from strict mode
When strict mode prompts for a command you trust (e.g. npm test), select 📋 Whitelist to save it permanently. The pattern is written to .pi/defender.yaml under strictModeWhiteList — future runs auto-approve.
Quick Commands to Try
After install, test protection in a Pi session:
# Should block (rm with force flag)
> Run: rm -rf /tmp/test

# Should prompt for confirmation
> Run: git push --force origin main

# Should block (system path)
> Write a file to /etc/hosts

# Should block (zero-access)
> Read ~/.ssh/id_rsa
License
MIT — see LICENSE
Credits
Previously published as pi-damage-control. Inspired by claude-code-damage-control by disler.